

Supportive, Professional, Client-Focused Service
From prototypes to full-scale production, we’ve got you covered.


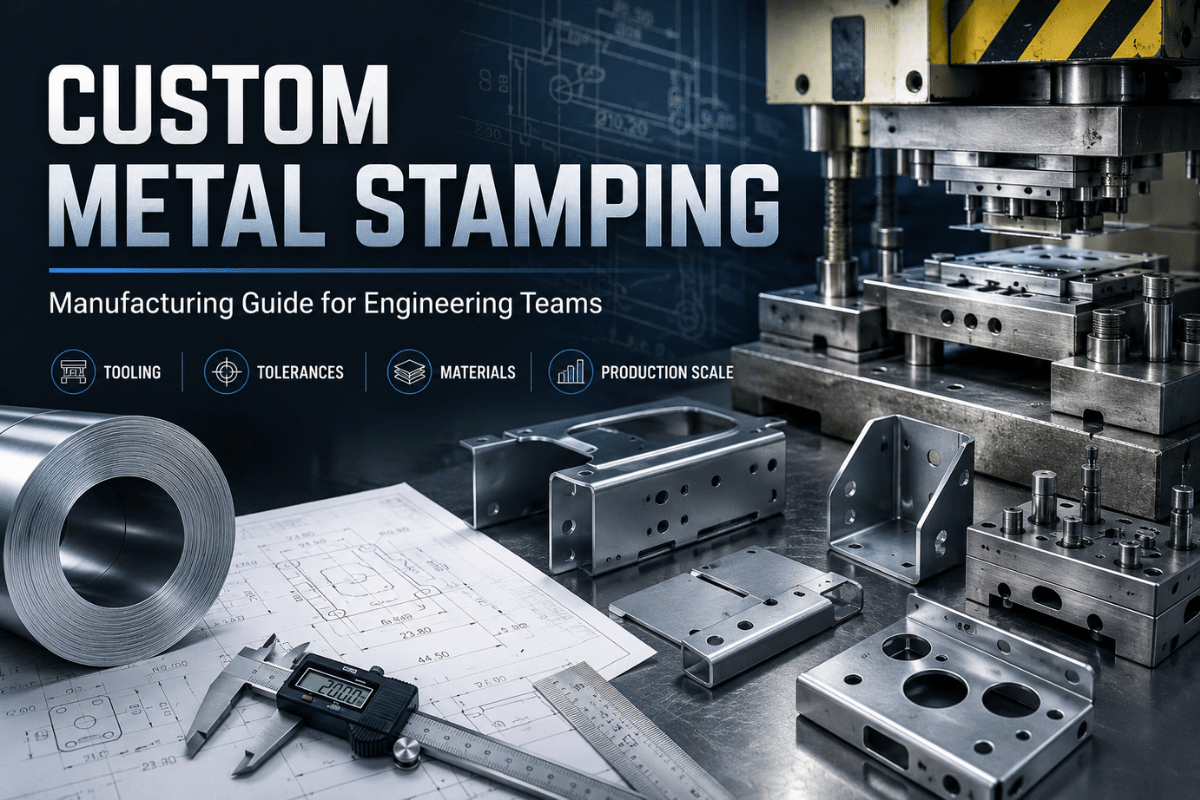
Custom metal stamping turns sheet and coil metal into finished, repeatable parts by impressing them between a tool-and-die set — and for teams sourcing brackets, contacts, shields, or housings in volume, it’s usually the cheapest part you can produce. “Usually” is doing some heavy lifting in that sentence. Stamping loves volume and hates complexity, which can easily lead to misjudgment at the quote stage. Here, you’ll learn the ins and outs of the process, common tool and die strategies, the factors that affect tooling costs, best practices for part design in stamping, and the exact point where stamping outperforms CNC machining.
| Typical material thickness | 0.005 in – 0.250 in (0.13 – 6.4 mm) |
| Standard tolerance | ±0.005 in (±0.13 mm) |
| Tight / ultra-precision tolerance | ±0.001 in down to ±0.0005 in with carbide tooling |
| Common materials | Low-carbon steel, stainless 304/316, aluminum, copper, brass |
| Press speed | 20–100 SPM (forming) up to 1,500 SPM (high-speed) |
| Custom progressive die cost | ~$5,000 (simple) to $200,000+ (complex) |
| Cost-effective volume | Generally tens of thousands of parts/year and up |

Metal stamping is a cold forming process in which sheet or coil metal is fed into a stamping press where a tool and die press it into the desired shape. “Custom” is the opposite of the catalog-your die is manufactured for your part. Force is provided by the press; shape is created by the die.
With few exceptions, stamping is done at room temperature — making it a cold-forming process, a point reinforced by University of Florida sheet-metal teaching material (hot stamping applies only to materials needing greater formability).
Stamping is its own discipline because it can turn out exactly the same part every single time, at high speed.
A die must be accurately designed and proven-or the process can’t replicate it reliably. In metal stamping, the die is precision-designed to restrict the metal sufficiently so that variation is due to material batch, not process operators. The primary benefit of stamping for engineering teams: It changes your repeating labor costs into your initial tooling investment.
Your initial cost to create a correctly functioning die will be spread over the production run.
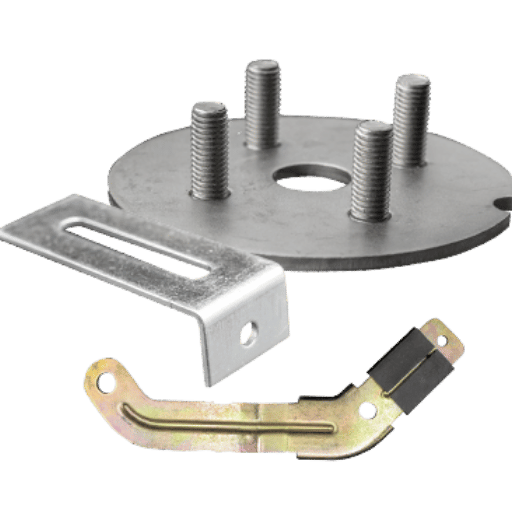
Stamped parts make up many products’ essential metal components, from automotive brackets and battery enclosures to electrical connectors, appliance panels and chassis, HVAC hardware and lighting fixtures.
If a product needs a two-dimensional or lightly-formed metal part in large quantities, stamping may be a great fit. Complex parts, or even moderately 3-dimensional parts with many interior features, are generally better handled with machining or casting.
Stamping swaps recurring labor costs for an initial investment in tooling. However, this trade off only works when your tooling costs are amortized over many parts. That’s why all stamping decisions come down to volume.
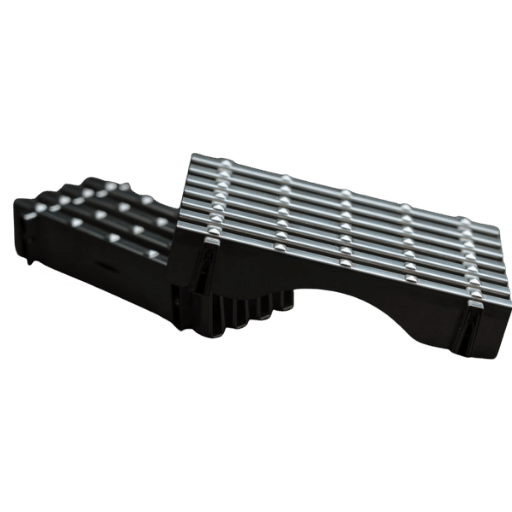
Individual stamping processes usually don’t do all the work required to form a complete part. Your die is designed to perform a sequence of steps on the metal work piece to achieve the desired geometry.
Familiarizing yourself with these steps will allow you to understand and evaluate a quote, identifying any costly features that may drive the tooling process. Under the definition of metal stamping, common operation types include:
Blanking and piercing both rely on shear: the metal is severed between two bypassing tool-steel sections separated by a small, material-specific gap.
Bending, drawing, coining, and embossing rely on controlled plastic deformation instead – the metal is reshaped, not cut. That distinction matters because cutting operations leave a burr edge and a clean edge, while forming operations introduce springback and internal stress. A practical lesson from die builders applies here: when piercing a domed or formed feature, the sheared edge should face down as the punch enters, or the feature can rupture.
Sequencing operations correctly is half the craft of die design.
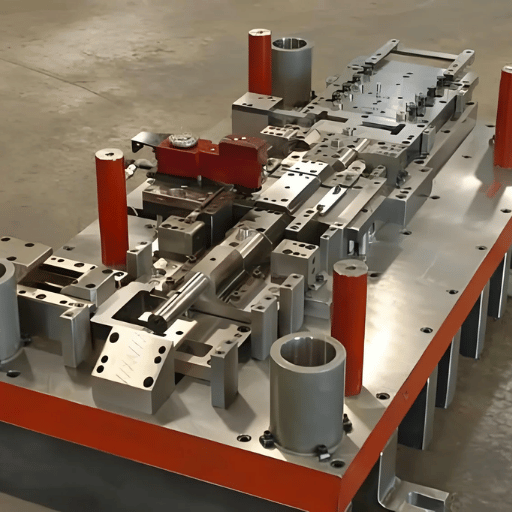
“How will my part move through the die?” is a separate question from “what operations does it need?” Four production methods answer it, and the right one depends on your part’s geometry, size, and annual volume. This is one of the most consequential choices in a stamping program, because it is locked in once the die is built.
| Method | Best part profile | Volume sweet spot | Relative tooling cost |
|---|---|---|---|
| Progressive die | Small-to-mid flat or shallow-formed parts, many features | High — tens of thousands to millions/yr | High (one multi-station die) |
| Transfer die | Larger parts, or parts needing features on multiple planes | Medium-to-high volume | High (die set + transfer system) |
| Fourslide / multi-slide | Small, intricate parts bent on several axes (clips, springs) | Medium-to-high volume | Moderate; flexible tooling |
| Deep draw | Parts with significant depth — cups, shells, enclosures | Medium-to-high volume | High; multi-stage draw tooling |
In a progressive die, the coil advances one station at a time and a different operation happens at each station; the finished part is cut free at the last station while the strip carries the work through. It is the most economical route for complex parts at scale, which is exactly why it dominates high-volume work — the station-by-station approach is documented in tooling patents such as US 7,055,353 for automotive progressive dies.
A transfer die separates the part from the strip early and mechanically moves it between stations, which suits larger parts. Fourslide tooling shapes a part from several directions at once and is ideal for small, multi-bend components. Deep drawing stretches the metal through one or more draw stages to create depth – the question to ask here is how the draw depth compares to the part diameter, because deep cavities may need several progressive draw stages.
When people ask for the “four types,” they usually mean these four production methods – progressive, transfer, fourslide, and deep draw – rather than the cutting and forming operations covered above. Keep the two lists separate when you write a request for quote: state the operations your part needs (it tells the toolmaker what features to build) and let the supplier recommend the method (it depends on their press lineup and your volume).
Specifying the method yourself can rule out a supplier whose equipment would actually serve you better.
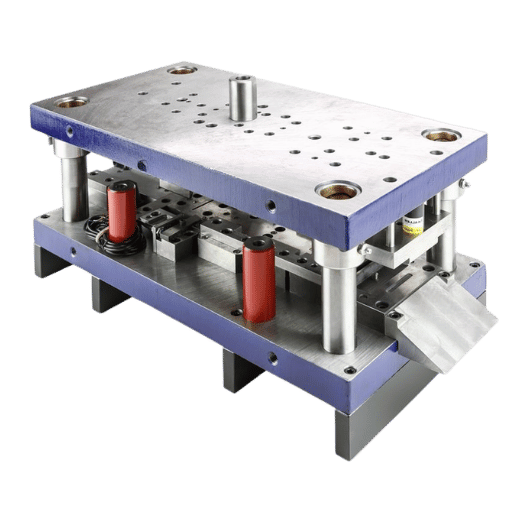
Tooling is where the money is. A stamping die is a unique, high-precision tool that cuts and forms a piece of sheet metal to a defined profile. The cutting and forming portions of a die are made from hardened tool steel or carbide on supports of die plates, shoes, guide pins, stripper pins, and springs, as illustrated in The Fabricator’s Die Basics series of articles. Building such a tool is the definition of iterative design work, and toolmakers report tuning dome height and hole sizes using soft tooling and a fly press before making the hardened die. The cutting and forming inserts are normally made as replacement parts so that a local failure requires replacing just the inserts and not the entire die-confirming this with your vendor is critical because it dictates tool maintenance costs.
Custom small to mid-sized parts commonly require a progressive die that can range from $5,000 for simple blanks to $200,000+ for multiple stations, and precision mid-size parts often fall around $15,000-$30,000. The total cost is divided into three rough categories: material (around 20-40% of the cost), fabrication and complexity (30-50%), and qualification. Each feature on your part needs a stamping station to form it, so the more features, the more machining.
This $5,000-$200,000 range represents what a custom part costs. Stamping huge automotive body-panel parts for Class-A appearance is on another level. Creating a full die line (draw, trim, flange, and pierce) to form a single panel typically adds up to a complete, multi-operation die line of $500,000-$1,000,000, and that cost escalates dramatically for large, production-volume tools. Any very large or deeply drawn part should be treated as a capital project.
Here’s the key takeaway: tooling is a sunk cost you must pay before the first sellable part exists. Therefore, the question of volume (discussed next) isn’t an add-on to be considered later, but an integral part of the process that determines whether the die will ever repay itself.
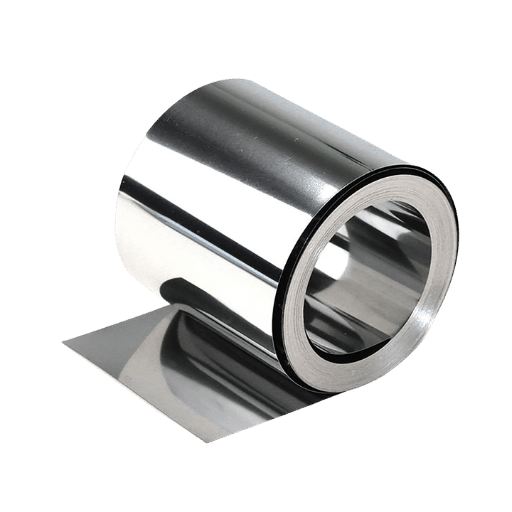
The metal you choose for a stamped part sets an upper limit on what the die can achieve, and as University of Florida sheet-metal design data shows, formability varies sharply by alloy and temper. Too hard and your tool is brittle; too soft and it won’t hold a formed feature in shape. Your choice should be based on the requirements for formability, strength, corrosion resistance, and material cost.
| Material | Formability | Relative cost | Typical use |
|---|---|---|---|
| Low-carbon steel (0.05–0.3% C) | High — annealed elongation above 40% | Lowest | Brackets, chassis, structural parts |
| Stainless 304 / 316 | Good; work-hardens during forming | High | Medical, food, corrosion-exposed parts |
| Aluminum (1100, 5052) | Good; excellent deep-draw with 1100 | Medium | Lightweight panels, enclosures, EV parts |
| Copper | Easily formed; work-hardens | High | Electrical contacts, conductors |
| Brass 260 (70/30 cartridge) | Good drawability; low forming force | High | Terminals, deep-drawn contacts |
| Red brass (85/15) | Good drawability; corrosion resistant | High | Decorative hardware, plumbing fittings |
| Beryllium copper (C17200) | Good; high fatigue strength after age-hardening | Very high | Springs, switch contacts, connectors |
| Spring steel (1074/1095) | Limited — formed soft, then heat-treated | Medium | Clips, retainers, flat springs |
| HSLA / AHSS steel | Moderate — higher springback than mild steel | Low–medium | Automotive structural and EV body parts |
| Galvanized steel | High — zinc coating can flake at tight bends | Low | Corrosion-exposed brackets and panels |
There are two important ramifications to this: 1. Both brass and annealing low-carbon steels stamp relatively easily, resulting in the ability to use smaller stamping presses and tools that will generally last longer than the ones needed for stainless steel-a subtle yet significant component of the tool cost. 2. Work-hardening metals, such as brass and stainless steel, increase in hardness with deformation. While this feature is helpful if you’re trying to create a finished, self-springing contact point, it’s more problematic for a part that requires multiple severe bends. Select the metal and temper for the most severe bend on the part-not the mildest.

Most design-based cost overruns related to tooling could be avoided. If the engineering drawing of the part doesn’t consider the realities of stamping the material, the toolmakers will either pad the estimate for safety or build a tool that’s fighting the laws of physics. The three biggest culprits causing these overruns are mentioned below.
Tolerances. Stamped part tolerances generally start around ± 0.005 in. (± 0.13 mm); commercial quality on a simple bracket may be ± 0.010-0.015 in. and ultra-high precision components could be±0.001 in. and under with the proper carbide tooling. A mistake that we see often, is having too many decimal places for the tolerance – that we would see from our default CAD software for instance. Every tighter tolerance will lead to increased tooling costs and more scrap and is only to be implemented on features that touch, function or mate together. The rest can remain at commercial tolerance.
Bend radius – and why “the rule of thumb” is wrong. It’s often thought that the minimum bend radius on a part is one material thickness (1T) and that’s always acceptable. It isn’t always acceptable. Minimum bend radius is highly dependent on material type, temper, and direction. Soft, annealed materials can generally bend close to 1T, but hard aluminum and hard austenitic stainless steel require minimums of up to six times that (6T), as evidenced by University of Florida sheet metal design information. Bendability is also strongly affected by rolling direction — a part bent at a right angle to the rolling direction behaves far better and needs much less radius than one bent parallel to it. Generally, for formable, annealed material, start at 1-1.5T for the minimum bend radius and verify the exact number for the specific material being processed.
“Precision isn’t just a “pass” for first part inspection. A die is in a constant state of wear and as you move through the production lot, the part dimensions will slowly drift outside of tolerances. In many cases, a part might pass at 20,000 pieces and not pass at 80,000 pieces.”
Ensure all holes and slots are a minimum of 1.5T away from any edge or bend. Too close and the hole becomes distorted when it’s formed; too close to an edge, and it tears out in the stamping process. Make proper adjustments to account for springback on bend angles, and align critical bends perpendicular to the sheet’s rolling direction — they generally form much cleaner. These are three fundamental stamping rules that prevent the vast majority of cracks, distorted pieces, and part dimension changes.
What is The Most Expensive Mistake When Stamping a Part? You’re going to hate this answer, but in many instances, the answer is none of the above, but simply the decision to send your part for quoting/manufacturing without involving your stamping partner. We regularly encounter engineers that submit prints to us for quotes “blind.” When we begin to lay out the part for die design, we often see geometry that will cause problems in the stamping process; features that could be redesigned inexpensively on paper to facilitate stamping or avoid expensive tooling features. That window closes as soon as we receive your print.
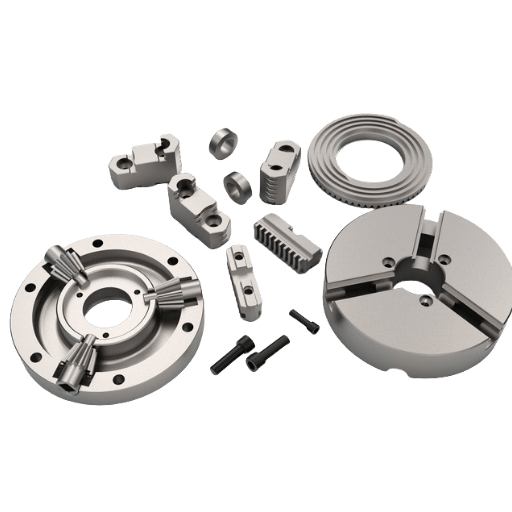
There’s only one process question you need to be asked: is it stamped or is it machined? This is the classic, trade-off answer – it entirely depends on your volumes and complexity; and how you stack them on two separate curves, it’s plain to see where they meet.
Enter the Volume Crossover Point (VCP). We could probably think of dozens of other ways to call this, but the basic premise is that it’s the specific volume of parts produced per year where the unit cost of the part from stamping falls below the cost per part if it were CNC milled, despite the cost of tooling. We want our part to cost pennies, so the lower the VCP, the better – especially since below that threshold, CNC milling is going to win every time (because it lacks tooling costs). The general rule of thumb in the industry places that crossover right somewhere within the “low tens of thousands” of pieces per year range. We’re going to take some liberty here and suggest that “low tens of thousands” is not precise enough. For a flat washer, it may be closer to a thousand pieces. For a very complex, multi-bend formed part, it could be in the tens of thousands.
“In many cases, progressive die stamping reduces piece price while increasing tooling upfront costs. Instead of asking “is it cheaper,” ask “at what volume do we get the biggest return with progressive?”
A logical order for parts with uncertain demand: a short run production run via CNC machining or a custom tool die, followed by transitioning to progressive die tools once volumes rise enough to justify die use. However, if the geometry demands freedom and requires CNC machining for what’s important to your part’s functionality – CNC machining is inherently suitable for low- to medium-volume and complex, three-dimensional designs.
“How Much Will This Part Cost” is impossible to answer in one way but it’s easy to explain how we arrive there. Each price is constructed from 4 variables (or “levers” as I’m calling it for simplicity – “4-Lever Stamped-Part Cost Model”):
It engages all four levers simultaneously: depreciates tooling, leverages commodity material costs and encourages faster setups.
Is stamping “profitable” or a good value? It becomes both once annual volume is large enough to spread the die cost. One $30,000 progressive die adds $3.00 to each of 10,000 parts, but only $0.30 to each of 100,000 — the die does not change, the math does. That is why a stamping quote always opens with a question about your project’s annual volume before it can name a piece price.
Lead time falls into two clocks. Die build and tryout usually take weeks to months, depending on complexity — and this clock is running late, because U.S. Bureau of Labor Statistics data shows the tool-and-die trade shrinking (see the outlook section). Production runs, after a die has been validated, are quick; you can get tens of thousands of parts out of a rapid stamping press in one shift.
Prepare your program based on the clock associated with tooling, not production, and be prepared for and allocate funds for a first article review and PPAP submission prior to full production launch.
Any two suppliers could quote the same part and still deliver wildly divergent programs. While ability to perform, acceptable tolerance, and price are the primary parameters – it doesn’t suffice. Let us use a structured assessment.
Here’s the 7-Point Stamping Supplier Scorecard:
Two points in particular need to be called out. First, for the automotive purchaser, IATF 16949 certification adds to a supplier’s base quality standards for metal stamping with automotive quality requirements like APQP, PPAP, FMEA, MSA, and SPC. PPAP is often the required contract document confirming a part meets the design and manufacturing specifications at volume rates. Second, you want a reputable supplier whose presses are operated according to OSHA 29 CFR 1910.217’s regulations regarding safe point of operation devices, die setting controls, and safe operating procedures – these are an implicit signal of a well-run shop. Finally, for complex, three-dimensional parts that are beyond the scope of typical stampers, investigate and request parallel quotations from a precision CNC machining service at the same time you request your stamping quotations.

Three shifts must guide any stamping sourcing decisions made for 2026 programs.
Global metal stamping demand is growing about 4.4 percent year-on-year, rising from an estimated $254 billion in 2025 to $265 billion in 2026, with the auto sector leading growth on the back of increasing demand for battery enclosures and body structure components for EV manufacturing. Supply has correspondingly become more automated, with robotic feeding, automated transfer and in-line inspection being the norm rather than the exception.
The decline in the U.S. in job openings for machinists, tool and die makers will average just over 2 percent year-on-year between now and 2034 according to BLS projections; this means that, aside from an estimated 34,200 new annual openings to replace departing workers, there simply won’t be as many craftsmen for stamping operations, increasing tooling lead times. Recent patent filings, covering additive-manufacturing-developed and prototyping-built stamping dies with adaptive compensation, attest to an industry drive for tooling that builds with less reliance on highly skilled artisans.
Tariffs are now a line item. Since June 4, 2025, Section 232 tariffs on imported steel and aluminum have stood at 50%, and on August 19, 2025 the United States added 407 derivative product codes to that 50% list — a list that explicitly reaches metal-forming dies and stamping tool parts, as documented by U.S. Customs and Border Protection and Congressional Research Service analysis. Material made exclusively from steel melted and poured — or aluminum smelted and cast — in the United States is exempt. So before a 2026 program proceeds, confirm where a supplier’s material and imported tooling originate; that answer now moves your landed cost by double digits.
Metal stamping is actually a type of a high volume manufacturing method utilizing custom tool, special die press, and tool set for manufacturing exact same piece after piece at high rate of speed. Generally speaking, metal fabrication is composed of several various approaches for cutting, bending as well as re assembling of metal, for instance press brake, laser cutting, as well as welding for higher volume or big component dimensions components. Stamping requires an upfront tooling investment; most fabrication does not.
As a rule of thumb, fabrication suits prototypes and low volumes, while stamping takes over once a part is needed by the tens of thousands.
Progressive tooling for common custom parts typically starts around $5,000 (for a basic blanking die) and runs up to $200,000 or higher (for a multi-station tool with several operations). High-precision mid-size dies typically fall in the $15,000–$30,000 category. Large automotive body-panel die lines are another category again and can run $500,000 to $1,000,000 and beyond.
Size, number of features, complexity of form, tight tolerances, required tool life – each adds up. Every feature that’s built into the part requires a die station.
The lead time runs on two different clocks. First up is die build and tryout, which may take a few weeks to several months to complete depending on complexity- a clock under more pressure as specialized toolmakers are hard to find. Running on the second clock is production: once the die has been validated, a production line can produce tens of thousands of pieces very quickly.
Budget based on the die clock, also taking into account time for a first-article inspection, as well as PPAP approval for automotive products, prior to releasing to the main line. Should a question remain about how much volume is going to be needed at first, to keep the program going while the die is under development, a program can commence with machined or short-run pieces.
Provide us with your drawing and target annual volume for a process recommendation and quotation. For a complicated, three dimensional or pre-volume part, the use of machining might be more appropriate.
This guide was developed from publicly accessible engineering reference materials, trade journal publications, U.S. government sources and standard specifications then vetted by the le-creator manufacturing team for technical soundness. Cost ranges and tolerances are current to the best estimate as of early 2026 based on typical industry standards but will depend heavily on geometry, material, and shop – consider these planning figures only.