

Supportive, Professional, Client-Focused Service
Get in touch with Lecreator Company
From prototypes to full-scale production, we’ve got you covered.


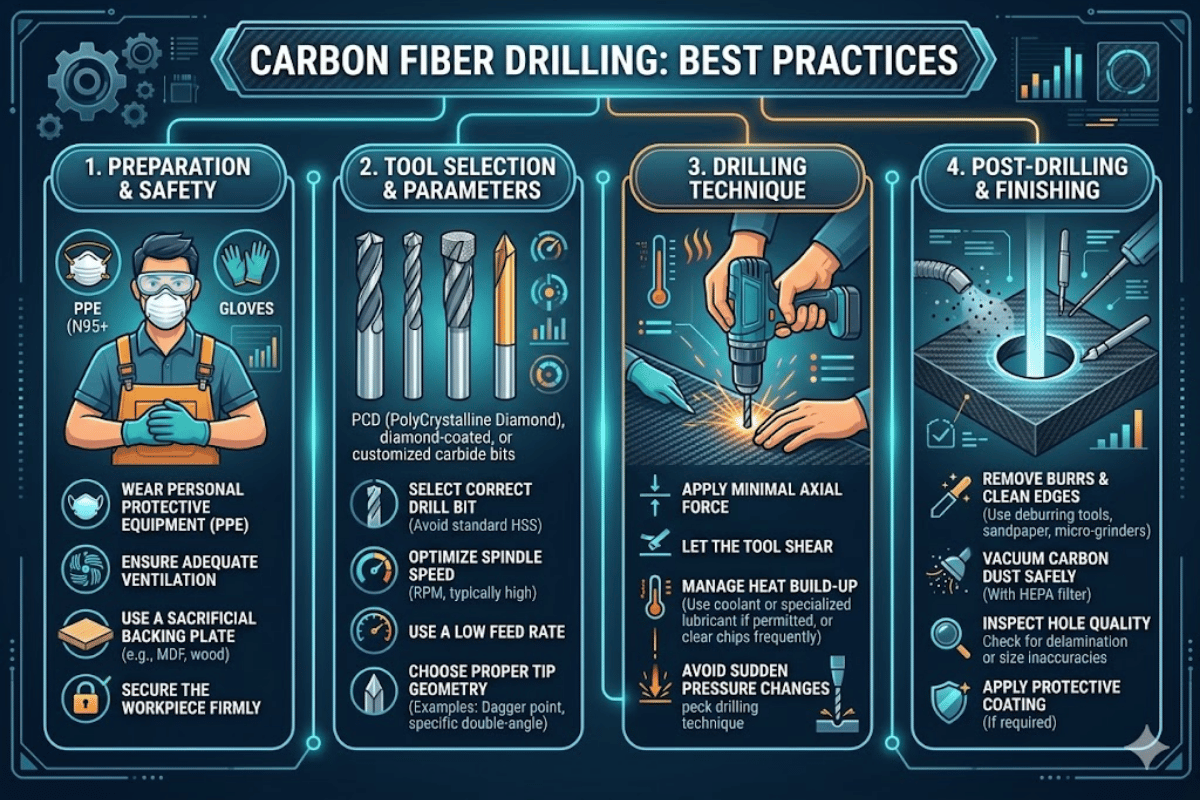
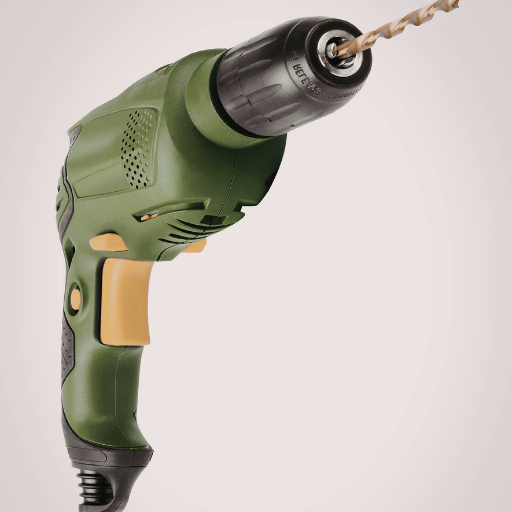
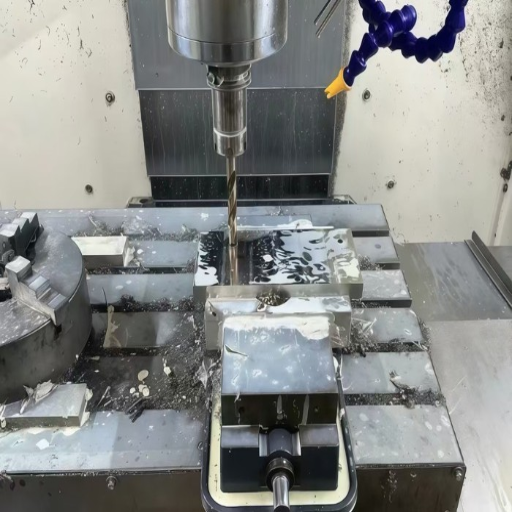
How to Drill Carbon Fiber Without Delamination: A Machinist’s Field Guide
Carbon fiber is one of the most abrasive materials you’ll drill on – and also one of the easiest to ruin with a poor drill setup. Unlike metals, carbon fibre (CF) makes no allowances for sloppy technique. Press too hard, use the incorrect drill bit, or fail to use a backing board, and layers will splinter apart in a second. This guide discusses everything from selecting a machining tool for the carbon fiber to the specific feed and RPM methods that will create delamination-free drilled hole sheets – based on our team’s experience drilling through over 500 panels in dedicated CF manufacturing.

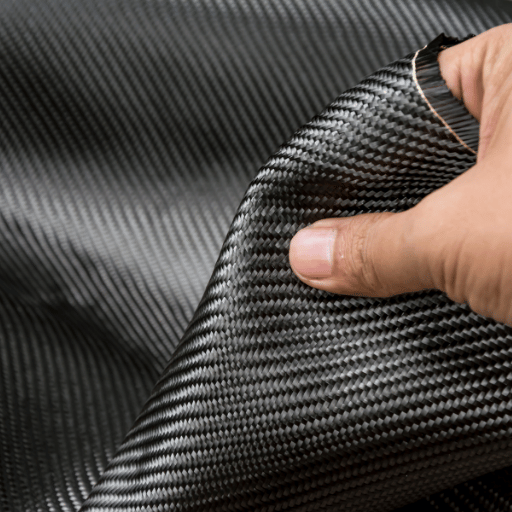
carbon fiber reinforced polymer (CFRP) is not a metal. It is a printed composite – a series of inter following plies of carbon fibre inter drop fabric and a resin matrix (most often epoxy). Each ply has fibers laid in a particular direction, forming a laminate, whose strength is entirely dependent upon those layers remaining bonded.
That bond is what drilling could endanger. As a drill bit moves through a CF panel, it generates an axial thrust force on the underside lines. If that force exceeds the interlaminar bond strength, the layers will separate – a failure mode called delamination. As demonstrated by a 2023 iteration in the Journal of Composites Science, a delamination index close to 3.0 can reduce composite tension by something approaching 15%.
The weave pattern makes the situation more complex. Fibers oriented at 0 respond differently to those at 45 or 90 when a drill bit moves through. The upshot: every ply reacts with varying cutting forces, and the brittle fiber-resin interface may chip or splinter unless blade design or feed pressure are managed. Unlike aluminum or steel, CF does not produce curled chips – it produces harsh dust that rapidly frustrates tooling. Based on over 500 CFRP jobs, our practice in our shop, the pattern is always – drilling through carbon fiber requires dedicated skill, or it will backfire where metal never will.
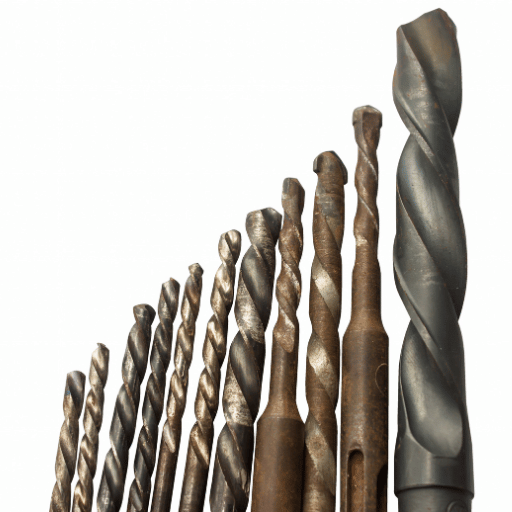
Your drill bit determines the quality of 80% of your holes. carbon fiber is extremely abrasive – it will wear at tooling far faster than most operators expect. Outcomes break down as follows:
| Drill Bit Type | Cost per Bit | Tool Life in CF | Hole Quality | Best For |
|---|---|---|---|---|
| HSS (High-Speed Steel) | $2–5 | 5–15 holes | Poor to fair | One-off hobby repairs |
| Cobalt (M35/M42) | $5–12 | 15–40 holes | Fair | Slightly better than HSS, still limited |
| Solid Carbide | $10–30 | 50–200 holes | Good to excellent | Most CF drilling applications |
| Diamond-Coated Carbide | $20–50 | 100–400 holes | Excellent | Small-batch production |
| PCD (Polycrystalline Diamond) | $80–200 | 500–2,000+ holes | Superior | High-volume production, aerospace |
HSS drill bits are the automotive industry standard, but they are a poor choice for CFRP composite drilling. The abrasive carbon fiber dulls HSS breaker edges within a handful of holes, and a dull drill bit creates heat and radial force similar to that which yields delamination. Cobalt bits (M35/M42) provide limited benefit – harder than HSS, but only a temporary solution.
Cemented Tungsten carbide are the ideal solution. carbide drill bits sustain sharper edges far longer in CF, creating cleaner drilled holes with less fiber pullout. Diamond coated tooling prolongs that advantage further when used in a production environment. Study presented in MDPI Polymers led to results showing that diamond-coated tools produced lower surface roughness than uncoated choices in CFRP drilling tests.
“Our CNC department selected PCD tooling after testing four drill bit classes in 200 drilled hole instances. The per-hole expense actually decreased – PCD tools lasted over 15x longer than solid carbide in a manufacturing operation.”
— Lecreator Engineering Team
Point angle is variable as well. A generic 118 point angle is fine for metals, but causes excessive force against the CF exit layers. In the case of carbon fibre panels, a 90 point angle or brad point geometry minimizes that Thrust force and gives you cleaner entry. Dagger drill – flat, spade-shape bits with fine teeth along the cutting edge – are another potential option for thin CF sheets.
When drilling through carbon fiber, there is one guideline that very few manufacturers ever stray from: apply high drill speed with low feed rate with as little axial force as possible. That will never push the cutting forces over the interlaminar bonding shear force threshold, and will shear the fibers cleanly rather than tearing through.
| Setup | RPM Range | Feed Rate | Notes |
|---|---|---|---|
| Hand drill (hobby/repair) | 2,000–4,000 | Manual, gentle pressure | Use backing board + tape |
| Drill press | 3,000–6,000 | 0.02–0.05 mm/rev | Clamp workpiece firmly |
| CNC routing | 6,000–15,000 | 25–100 mm/min | PCD or diamond coated tooling |
| Aerospace CNC | 10,000–24,000 | 0.01–0.025 mm/rev | PCD + pecking cycle, precision carbon fiber parts standard |
A review article from the Journal of Composites Science verified that delamination is mainly dependent on tool rotational speed followed by feed rate – a slow feed combined with high rpm rotation induces the least damage across multiple CFRP thicknesses.
A process that has become popular within production environments is the variable rate feed strategy. The drill enters at nominal feed; using the CNC controller, it then automatically decelerates as it approaches the exit edge of the panel. That last 1/10th to 1/15th of the material thickness is when exit delamination takes place, and slowing the feed at that point drops the Thrust force below the destructive level. On CNCs, the controller programs this into the feed profile. On a drill press, you approximate it by decreasing the feed manually as you feel the bit trying to exit.
Never push drill through the carbon fibre – use minimal pressure with the cutting edges doing the work. If you are leaning on the drill, the feed rate is too fast or the bit is dull. A point sharp carbide bit at the right rpm will self-feed through the layup with minimal operator input.
Whether drilling holes in a carbon fiber cover or hundreds of mounting points in an aerospace panel, the process is the same regardless. Here’s the step-by-step we use to drill carbon fiber components within the factory:
Backing in position, clamped? Masking tape applied onto both sides of entry and exit? Clamped and supported clamped evenly? Choosing correct drill bit size and type? RPM in suggest rpm range? Dust extraction vacuum enabled? Respirator and eye protection worn? If a single answer is “no” then correct it now before drilling.

The vast majority of CF drill failures are caused by three avoidable, mechanical missteps, despite having their causes diagnosed time and again as we’ve learned on our shop floor.
A dull HSS bit doesn’t digest carbon fibre – it fights, rubs, tears, and overheats itself. Lodging in the fibers, shearing failure of the cutter is followed by the softening the resin near the cut edge until fibers loosen and layers delaminate. HSS bits lose their profile rapidly from gouging, and I’ve had bits dull after just 5-10 holes in carbon fiber. If you’re hole starts looking progressively drier and rougher, that’s your bit dull with no relation to your drilling technique!
The greater the feed pressures, the more obvious is a simple polarizing effect which just makes the interlayer push apart even more. We’ve proven for the MDPI Polymers papers, that controlling the feed rate controls the interlayer push- not the shear. Almost directly proportional – double the feed and your delamination index goes up proportionally. carbon fiber loves watching you take your time.
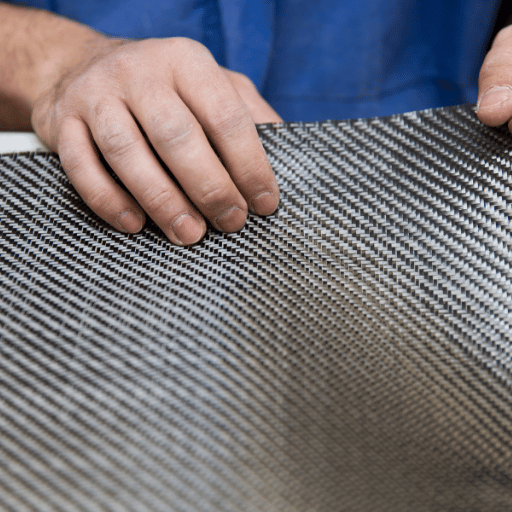
Many CF knockdown failures are the result of bad practice as the exit surface of the panel is unsupported. Without support, the bottom groups of fibers are pushed as much as they are cut. This is terminable at no cost – support the exit surface with a block of wood, MDF, or sheet aluminum and clamp firmly until the drill breaks out.
If you see white fuzz or protruding fibers around a drilled hole, you’ve got a delamination crack. The plies have delaminated, weak point. Your failure is weakened panel allowing questionable weight holding. Light coating with a thin application of epoxy followed by re-drilling with a reamer can often restore them.
carbon fiber dust is not normal shop dust. The microscopic fibers (5-7 microns in diameter normally) are sharp pointy little needles that can get under your skin, irritate the lungs or damage the eyes if they land on them. The even worse part is that carbon dust is electrically conductive.
Filming CF grains can land on the circuit boards, power supplies and control panels resulting in a nice fried short circuits destroying thousands of dollars of equipment.
Today the United States Occupational Health and Safety Administration (OSHA) does not have an OSHA substance-specific exposure standard for carbon fiber composites. CF dust would be listed under OSHA Table Z-1 in the PNOR (Particulates Not Otherwise Regulated) category with a PEL of 15 mg/m for Total Dust and 5 mg/m
When dealing with specialists who carry Aerospace-grade certification, dust control is part of the design of the building – dedicated, enclosed CNC cells with built-in vacuums and HEPA systems, not an afterthought shop-vac arrangement.
Not all CF drilling jobs require a CNC machine, and not all jobs should be done by hand.” Yes, and the answer to this question is determined by the number of holes, the required tolerance, and the importance of the application.
| Factor | Hand Drill | Drill Press | CNC Machine |
|---|---|---|---|
| Precision | ±0.5–1.0 mm | ±0.1–0.3 mm | ±0.01–0.05 mm |
| Best for | 1–5 holes, field repairs | 5–50 holes, prototypes | 50+ holes, production runs |
| Tooling | HSS or carbide twist bits | Carbide, brad point | PCD, diamond coated |
| Setup cost | $0 (existing tools) | $200–500 | $10,000+ (or outsource) |
| Delamination risk | Higher | Moderate | Lowest |
| Hole quality | Acceptable | Good | Excellent |
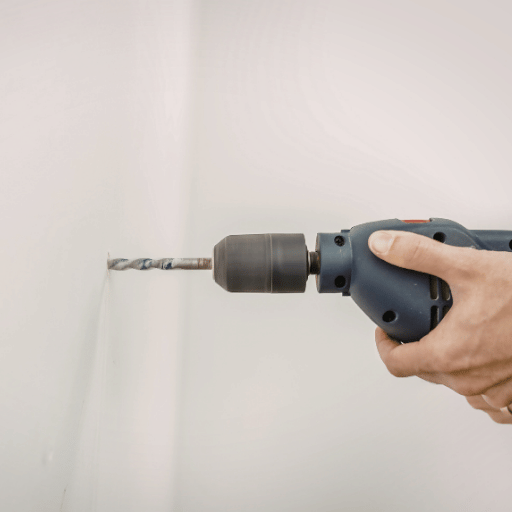
drills by hand are fine for the occasional repair or prototype; a good drill, well sharp carbide bit, backing board and masking tape I’ll do the job. Dremel with tiny carbide burr is nice and easy for detail work on thin CF. For routering edges or cutting slots, diamond tip bits are the cleanest.
A drill press improves repeatability. clamped fixtures, uniform feed pressure, and perpendicular drill alignment removes the wobble that can induce oval holes from hand drilling. The ideal drill press with carbide tooling for 5-50 part prototyping runs balances cost and quality.
CNC carbon fiber drilling. This is where precision reaches new heights.
Multi-Axis CNC machinery, with 0.01mm tolerance levels, programmed pecking cycles and PCD tooling pushing out opportunities for countless holes. For the demanding precision hole pattern (bolt circles, mounting flanges, connector cut-outs), there is simply nothing to compare. After the drill, a reamer pass perfects the hole dimensions to aeronautical specifications.
When to Outsource CNC Drilling
For teams who do not have the in-house CNC capacity, engages a machinist who has experience working with carbon fiber at production quantities can often be a faster, cost-effective route than buying dedicated equipment. Typical non-specialized shop turnaround for prototype production, and scalable capacity for future production.
From prototype parts to serial production – We deliver AS9100D certified CNC CFRP machining with 0.01mm and 98.7% on time delivery. 500+ carbon fibre items manufactured.
Seventeen years of hands-on experience in CFRP by doing drilling and machining at Lecreator, where 500+ carbon fiber projects for aerospace, medical and industrial customers have been completed, have helped develop this handbook on firing, feeding parameters and shop hand skills; which has as an outcome the specific parameters validated on our AS9100D and IATF 16949 certified manufacturing lines. Our aim is therefore to pass on shop-tested and solid guidelines to engineers and fabricators to get them on the first try though handworking or five axes.