

Supportive, Professional, Client-Focused Service
From prototypes to full-scale production, we’ve got you covered.


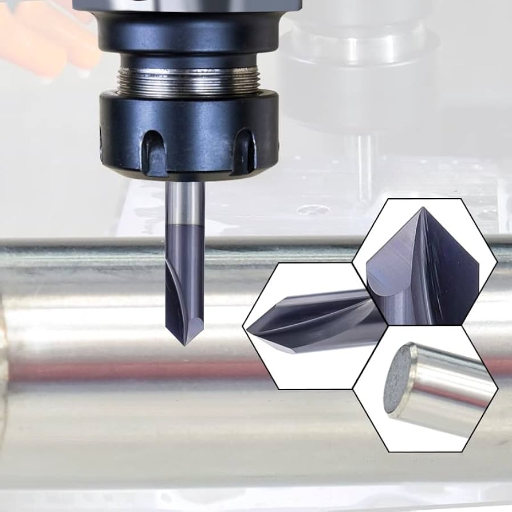
Since cutting acrylic with precision and efficiency requires the proper tools, CNC machining finds its place there. Choosing the right CNC tools, whether you are a professional fabricator, an artist enjoying DIY projects or a maker planning a business, can either make you or break you. This guide is designed to help you navigate the world of CNC acrylic-cutting machinery by offering insights into the equipment available and not available, the tools, the techniques, the features, any tips needed, and probably even the types of bits to look at, ensuring the machine always finishes smoothly. This is going to be an amazing opportunity to really enhance and advance all of your acrylic projects. Accordingly, get ready for much more knowledge so that you can make informed decisions and make these dreams a reality!
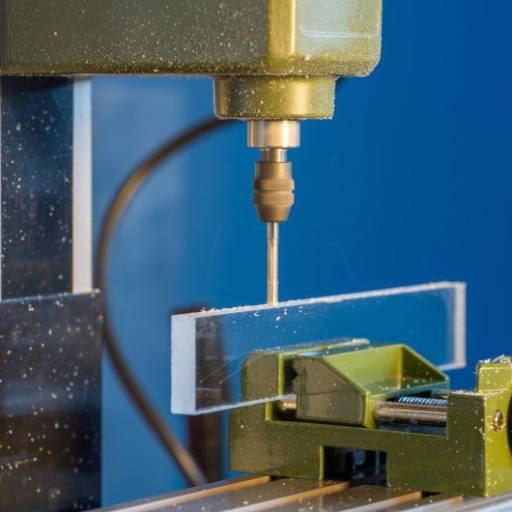
Acrylic, also popularly known as plexiglass, finds great use for numerous applications in and around different industries due to its strength, lightweight and versatile nature. On the other hand, CNC machining is a precise method for the machining of acrylic with great accuracy from cutting to shaping and all other aspects. CNC machining proves perfect for the production of intricate designs or larger volumes of whatever part is in need due to controlled computerized tools for uniformity. The doors open to lots of great applications when CNC sets high standards with superb productivity.
Another popular thermoplastic material, termed polymethylmethacrylate (PMMA) or simply PMMA, called acrylic for short, is not only lightweight, but versatile, remarkably durable, and transparent. Depending upon the manner in which PMMA is processed, the material’s mechanical resistance can be as good as tempered glass, albeit with significantly better noise absorption at that. The greatest advantage of acrylic is that it can be easily made or transformed through techniques like heat molding and CNC machining. This factor alone explains why it is so popular across many industries.
Acrylic is very commonly used for purposes that range from everyday objects to specialized industrial commodities. Its properties of clarity, shatter resistance, and excellence for using it in protective barriers, display cases, signage, or even in art-related objects, have made acrylic a highly useful material. Due to being strong and lightweight, it is one of the best choices for automotive parts, lighting fixtures, or even medical industries. On the other hand, colored or frosted acrylics also have numerous applications in projects related to design and architecture, as in sliding doors, windows, and interiors, through the property of offering functionality along with an attractive look. The plastic’s capability and long-term reliability have turned it into the essential material of the modern manufacturer and designer.
Accuracy and Precision
One of the greatest advantages of the CNC machine is its high precision level, permitting attention to the intricate details and clean, perfect edges when it cuts acrylic.
Consistency
With CNC technology, every single cut is the same, making CNC service provision ideal for mass production, where even a minimal defalcation can courtyard the whole batch.
Speed
Cutting processes are automated on CNC machines, which cuts down on working hours considerably upgrading efficiency, while final quality is still observed.
Versatile
The CNC cutter can handle acrylic of any thickness, shape, and size, thus catering to their artistic and imaginative design needs.
Less Waste
When the CNC machine cuts, it cuts with a great deal of precision; the material is optimal and thus reduced waste, making the method way more efficient for the customer.
CNC machines and routers are highly sophisticated tools used for making precision cuts, shapes and engraving in a broad array of materials. These machines follow a set of programmed instructions derivatives from highly complex designs resulting in consistent product quality. CNC routers are very flexible and can work with a wide range of materials like wood, acrylic, metal, and plastic. They are suitable for all sorts of applications within various industries like aerospace, automotive, furniture and signage, owing to their adaptability and precision.
Ability to mark very accurate designs are the great benefits, CNC machines are considered replay in work, which is not possible in manual cutting operations where we experience errors in each production. Going with manual operations, one can best perform in flowlines related to activities such as staircase, table, or print media, which are all within the mold of artistic production — automate and batch it, cutting into the labor cost. CNC machining can also be used to apply 3D-modeling as well as information to create customized geometries that can satisfy a range of project types.
Thus, CNC machines and routers suitably become obligatory in a number of industries that demand demanding production possibilities with continually updated materials properties and successful deployment in order for cost to be minimized. The technological improvement within a CNC machine has therefore led to the development of production in meeting the needs of industries.
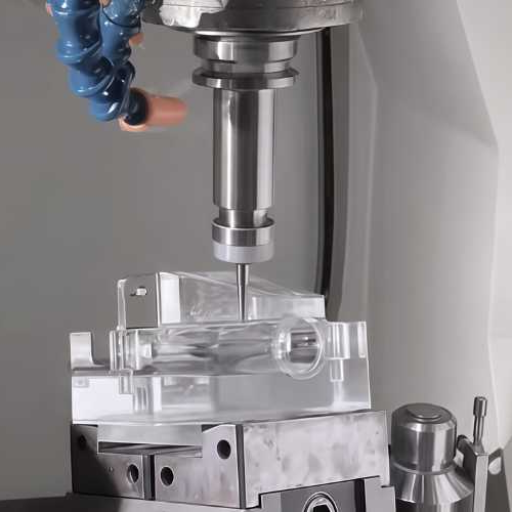
Machine types, key features, and cost considerations
Since each of these machines is designed for a particular purpose, actual choice of the right machine depends upon the complexity, precision and budget of the particular job.
1
Precision and Accuracy
Select a CNC router that maintains a high quality of precision in cutting, which enables it to perform extremely efficient cuts on-demand, particularly for more detailed and intricate projects.
2
Support for Materials
Ensure that the CNC router you purchase can process a number of different materials such as acrylic, wood, metal, and plastic, enabling diverse choice for their application.
3
Easy to Use
Choose user-friendly software and frames to make using them easier even for novices.
4
Frame and Longevity
A solid and secure frame can accommodate high-quality components such as high-torque motors and large power supplies, resulting in lasting reliability and operation precision.
5
Cutting Rate and Power
A somewhat high cutting speed with ample power lets the machine work at top speed and process tough and thicker materials with ease.
6
Workspace
Deliberate on the workspace regarding the projects you will be putting your machine into.
7
Ease of Maintenance
Choose a machine that requires very little maintenance as such time-consuming and expensive practice will reduce their operational value. Choose a CNC router that fits in accordance with the project, and while looking into required efficiency and precision.
In pricing CNC routers, the first thing to do is to consider initial cost and then long-term costs. The prices of this machinery can vary considerably based on a number of factors: size, horsepower, features, and the manufacturer. Simple, beginner-level machines for the hobbyist and small-business users start at $1000 to $5000, but advanced units with additional capabilities that are utilized in industry will cost anywhere from $20,000 to $100,000 or more.
Entry Level
$1K – $5K
Hobbyist & Small Business
Industrial Grade
$20K – $100K+
Advanced Industrial Use
On top of the purchasing prices you must also take into consideration the cost for different software to use with the machine. Tools required for working with the chosen material and accessories related to the CNC router’s operation should also be included in the cost estimation. Think of resources available for maintenance – starting with more costs likely due to general maintenance activities to replacement of any needed parts. Other expected costs to include are for feeding the machine with energy and training to enhance the operators’ capability.
The trick is to look for a machine that balances reliability and price. Most manufacturers out there have financing options and second-hand machines to help minimize starting costs without sacrificing function. Consider a clear view of your project requirements and research to make the correct price-effective judgment.
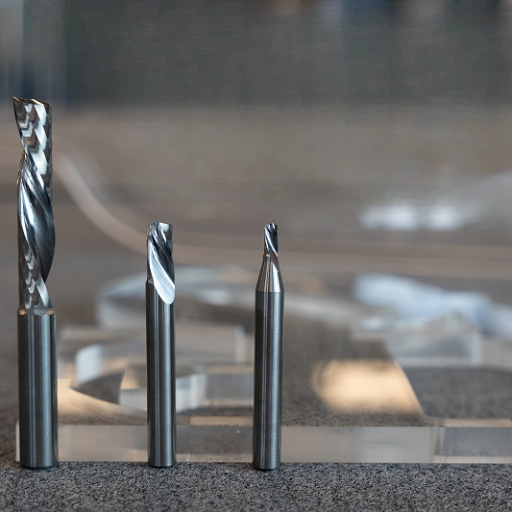
Router bits, carbide comparison, and flute design
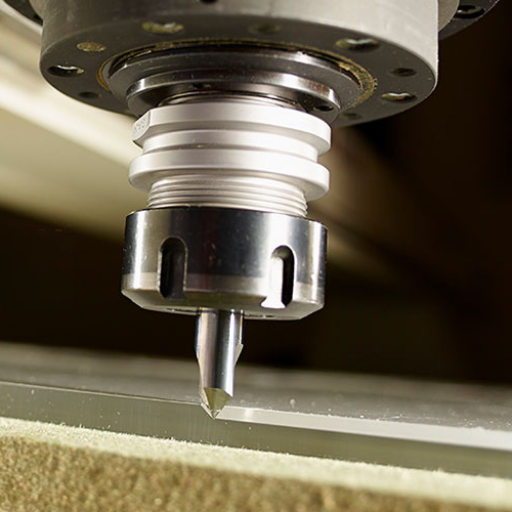
When cutting acrylic with a CNC machine, selecting the ideal router bit is extremely important for accurate, safe cuts. Here are the different types of router bits generally used in acrylic working:
Single-Flute Upcut Bits
Prime for effective chip clearance, coupled with the benefit of smooth edges from minimal heat concentration induced by cutting. These bits are mostly used in cases of cutting and engraving acrylic.
O-Flute Bits
Specifically meant for plastic materials, such as acrylic, as the fearful melting rate is the reason these bits are of an added value in leaving the advantage of a super clean finish with the least strain on the material.
Straight-Flute Bits
Although deeply outdated, these still will give clean cuts in thinner acrylic sheets. Mostly they are common in the slowest machining operation to prohibit chipping.
The correct router bit entirely depends upon specific acrylic thickness and material type being cut, finishing techniques, and optimum performance delaminated onto the Helix Ratio Fits at specified feeds and spindle speeds.
Solid carbide bits are solidly constructed from carbide material, offering durability and precision, while carbide-tipped bits have a steel body with carbide edges, providing cost-efficiency and versatility.
| Key Point | Solid Carbide | Carbide-Tipped |
|---|---|---|
| Material | Full carbide | Steel with carbide tip |
| Durability | High | Moderate |
| Cost | Expensive | Affordable |
| Precision | Excellent | Good |
| Usage | High-speed tasks | Versatile applications |
| Lifespan | Longer | Shorter |
| Sharpening | Re-sharpenable entire | Tip re-sharpenable only |
| Weight | Heavier | Lighter |
| Suitability | Hard materials | General use |
| Heat Resistance | Excellent | Moderate |
This table provides a concise comparison to help choose the right bit based on specific needs and priorities.
Flute design is crucial in deciding on efficiency, accuracy, and finish of the cutting acrylic. In the case of acrylic construction, spiral flute bits are heavily endorsed because they have the capacity to generate chip-free surfaces of a good finish. Such bits are designed to enhance removal of chips, remove heat buildups, and stop the material from melting. The spiral design generates an even pressure and a greater smoothness in passage compared to two bits, therefore providing an ideal environment to slash through a brittle material like acrylic.
With more open space to remove chips while providing mirror-like cutting action, single flute bits are often opted for at high-speed cutting an acrylic sheet. On the other hand, two bits are mainly for finer detailed work, such as carving high-quality designs into acrylic. The comparison largely depends upon the user’s goals, mainly involving the thickness of the acrylic, desired finish, and speed during cutting.
Speeds, feeds, machine setup, and common mistakes to avoid
The right cutting speeds and feeds need to be chosen to ensure a good surface finish and prevent material damage. Spindle speed is typically between 18,000 and 24,000 RPM for acrylics. Feed rates fluctuate from 35 to 60 IPM mostly depending on sheet thickness and a specific set of propensities in the various grades of acrylics.
Spindle Speed
18K–24K
RPM
Feed Rate
35–60
IPM
Depth of Cut
0.03–0.06
Inches/pass
In addition, the depth of cut is dictated by a more passive rest period that extends the time for the heat put out to dissipate downward to the workpiece. Typically, the depth of cut for any pass ranges from 0.03 to 0.06 inches. The use of sharp single or two-flute router bits specifically designed for plastics can lead to clean cutting results.
To test the parameters and fine-tune them to your machine and material conditions is critical. Tool wear, acrylic type (cast or extruded), and CNC machine rigidity can affect the output, making necessary adjustments that can lead to the best results.
While setting up a milling machine to cut acrylic, it is the precision and pre-preparation that are required for the completion of the work to a smooth, clean finish. First, secure the acrylic piece with clamps or by using a vacuum bed against the table of the machine so that it does not shift about while being cut. The bed should entirely be elevated so there is uniform cutting in terms of depth. Choose one of the bits for cutting with a single or two-flute since they are sharp and are well suited for cutting plastics that minimize problems with generating heat or fracturing chips. The spindle RPM is recommended between 15,000 to 18,000, with a feed rate anywhere from 100-300 inches per minute (IPM). Always set the depth of cut between 0.03 and 0.06 inches to allow the tool to handle the cut.
There is another option of using compressed air or mist coolants. The veil of the use of coolants and compressed air is such that there is a distinct advantage in getting rid of heat and removing the chips from the cutting area, where there is no obstruction to a clean cut with less danger of melting the acrylic. It is always advisable to try out these settings on a piece of scrap acrylic before starting the final cutting process, as each machine condition and material properties may require a degree of adjustment.
The combination of these well-tested settings along with consideration for your machine shall tune the CNC process for the successful manufacturing of acrylic.
Cutting Jobs Being Carried out Speedily or Too Slowly
If cutting jobs are not adjusted to the speed of the unit and chemistry of the acrylic being processed, the work could end up in the chipping area, the crackled area, or even melting.
Neglect of Oxygen Input or Coolant
Non-provision of proper amount of oxygen or coolant in the cutting region would increase overheating and subsequent distortion of the material.
Not the Correct Choice of Cutting Equipment
Wrong and less sharp mechanism equipment may give rough finish and add undesirable pressure associated with cutting acrylic. Sharp, suitable equipment must be used.
Neglecting Materials Cleaning
Cutting acrylic while it has dust or debris settled on the surface will cause scratches or resultant rough edges. Wash the materials entirely clean before starting.
Indifference to Trial Cuts
Not trying trial cuts causes errors for a final piece. Always work on a test piece to ensure settings are accurate.
Avoiding these basic mistakes can assure much cleaner and more precise cuts when working on acrylic.
Polishing techniques, engraving tips, and surface quality
Various methods will ensure that edges are finished with acrylic that are clear and neat. These different methods are as follows:
Each technique has its positives that can be individually employed or even combined for the finishing of finished product or effect; its use would greatly depend on the specific project’s requirements. Always follow safety instructions while working with a flame or tools.
Use the Right Tools
Use engraving tools specifically developed for acrylic, such as a CNC router, or a laser engraver, for smooth and accurate performance.
Work on the Settings
The laser engraver should have been used with speeds and settings to balance out so as to not melt or scorch the acrylic.
Choose the Right Acrylic
Work on engraving cast acrylic, not extruded acrylic, as it has better engraving and cracks less.
Secure the Material
Properly hold or clamp the material to prevent and minimize movement and vibrations that would result in uneven engraving.
Testing on a Scrapped Acrylic
Use your design scrap pieces of acrylic to test whether the setting gives you the preview or fine tune the setting before putting it on the main acrylic piece.
To attain a nice surface finish on the acrylic, foremost in importance are preparing the acrylic right and handling it carefully. The first thing is to clean the surface of the acrylic of any obstructions and filth. Dust, smudges, or extraneous particles provide finishing difficulties. Therefore, it is good to lightly sponge using a soft, lint-free cloth over a mild cleaning solution. Avoid strong chemicals or abrasives which can scratch the surface.
One of the most important steps in rendering glossiness is the polishing. Start by handling the edges with a fine grit sandpaper and, if necessary, buff it with an abrasive pad. For the surface, liquid acrylic polish has minor scratches removed and the resultant shiny surface may be buffed with a super soft cloth.
To uphold the fine-finished look of the surface along with handling acrylic with care and protecting it from other damages and scratches, an acrylic item should be covered with a barrier, say some soft cloth or bubble wrapping for the period in storage or while being transported. This way, the surface should not have a gentle cleaning. Over time, this ensures that the treated acrylic provides and maintains a high-quality finish and will resist other possible future physical stresses.
Optimization of CNC Laser Cutting on Acrylics
This study explores experimental methods for optimizing CNC laser cutting on acrylic materials.
Taguchi’s Method for Optimum Cutting of Acrylic Materials on a 40-Watt CNC Laser Cutting Machine
Research conducted using a CNC laser cutting machine to determine optimal cutting methods for acrylic.
Optimization of CNC CO2 Laser Cutting Process Parameters on Acrylic Cutting
This paper investigates the optimal process parameters for cutting acrylic using CNC CO2 laser cutting.
Application of CNC Machine Router 3-Axis for Engraving Granite or Marble
While focused on granite and marble, this research includes insights into CNC router tools applicable to acrylic.
Expert answers to common CNC acrylic cutting queries